Installation
This guide will explain how to install LMS system onto your avatar using non-destructive tools such as Modular Avatar and VRCFury. Manual installation is not yet supported. For a video tutorial, please refer to the tutorial video playlist
1. Preparation
First, make sure your have avatar project with the latest version of SDK. The minimum version is 3.7.0, but using the latest version is strongly recommended.
Next, install one of the following avatar tools based on your preference. The tool is required to install LMS into your avatar.
- Modular Avatar : A non-destructive tools for modularizing avatars and for distributing avatar components.
- VRCFury : This tool is recommended as you’ll already need it in your project for SPS.
- You can install both tools if you want.
Then, install (Modular)LMSv1.xx.unitypackage if you prefer to use Modular Avatar version. Otherwise, install (VRCFury)LMSv1.xx.unitypackage for VRCFury version.
Please always reinstall or apply LMS again to your avatar after updating the LMS package. This is to update LMS prefab and prevent mismatched settings between old and new prefabs.
2. Configuration
This is the installation tool for LMS. With this tool, you can configure and adjust the available features as needed. Once you click Apply, the LMS prefab and related assets will be generated and added to your selected avatar.
- To open the tool, go to
Dismay Custom > Lovestick Massages SFX > Setup Tool, drag and drop your avatar into the box and you will see a window like this:
If you cannot find the tool, please check and fix any errors shown in the Console window. Errors (red text) will prevent the tool from being generated and it will not appear.
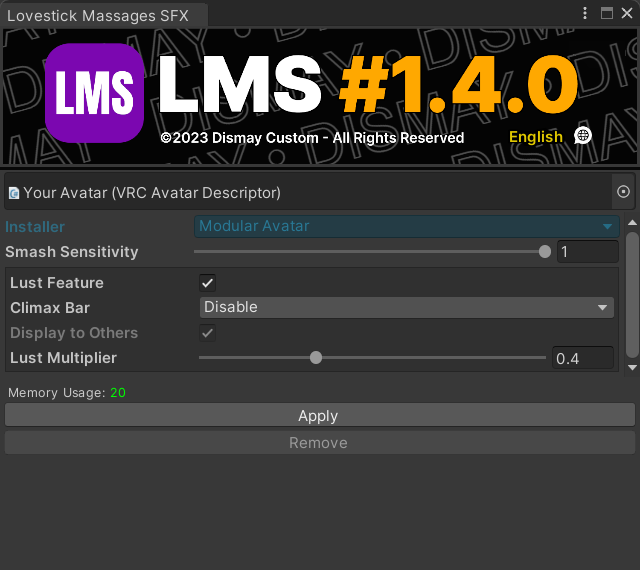
Language
Click to change the tool language between English, Japanese, Korean, Thai, and Chinese.
- We use ChatGPT to help with the translation. If the translation is inaccurate, please let me know.
Installer
The avatar tool for this LMS version. You cannot change this normally without importing a new unity package.
Smash Sensitivity
This value controls the impact detection sensitivity. Lowering this value means you will need to apply stronger movement to trigger the sound. Full value at 1.0 is recommended, unless you feel it is too easy to trigger.
Lust Feature
This is the satisfaction system that allows you to accumulate arousal points from insertions. Once the point reaches its maximum level, it will automatically trigger a climax effect.
- Lust Multiplier: This value allows you to control how easy or difficult it is to gain one arousal point per penetration.
Climax Bar
This setting controls whether the Climax Bar is enabled or disabled. The Climax Bar is a gauge that displays your current arousal level.
- Display to Others This setting determines whether other users are allowed to see your Climax Bar. If disabled, only you will be able to see it. If enabled, you will have access to an additional menu that allows you to toggle its visibility on or off.
If PCS is installed on your avatar, some LMS menus will be merged with PCS. This is because both system are designed to function together. By sharing certain parameters and menu controls, the systems help reduce overall parameter usage.
3. Apply
After clicking the Apply button, LMS will be added to your avatar. Done!
- Various assets, including animator controller and menus, will also be generated per avatar.
These items can be found at
Assets/!Dismay Custom/Lovestick Massages SFX/#GENERATE

Optional Steps
This is an optional step that you may skip. It mainly covers how to reposition the various sound locations and resize.
Select Menu Location
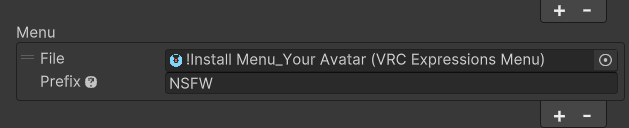
For VRCFury, you can add a menu name as a prefix to place the LMS menu inside it.
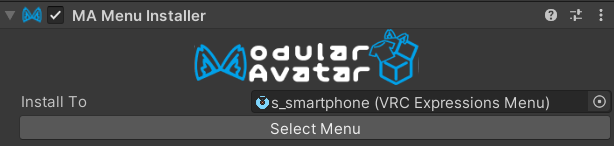
For Modular Avatar, you can click Select Menu button.
Position Adjustment
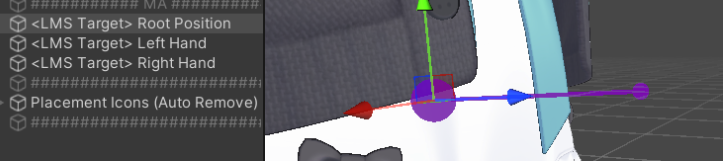
You can move or rotate <LMS Target> Root, <LMS Target> Left Hand, <LMS Target> Right Hand to achieve more precise positioning.
These positions determine where LMS will move when it is enabled through the menu. The position guide marker will indicate which direction it should be facing.
Setting Detection Length and Grab Radius
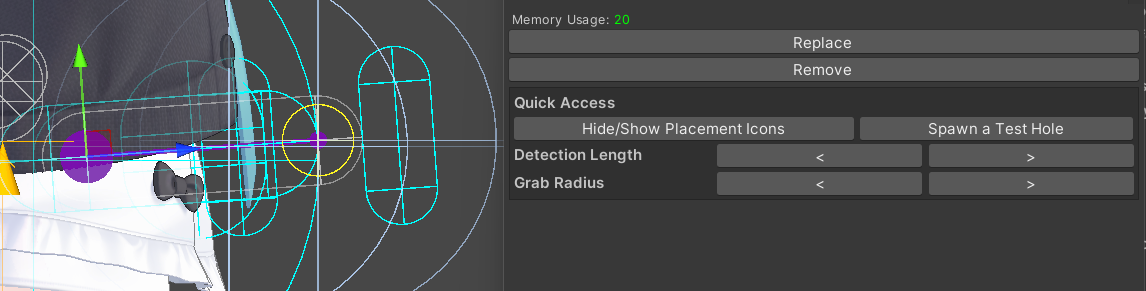
- You can match LMS length with your plug by adjusting
Detection Lengthmenu. - Increase or decrease
Grab Radiusto match the size of your plug.
Scale Adjustment
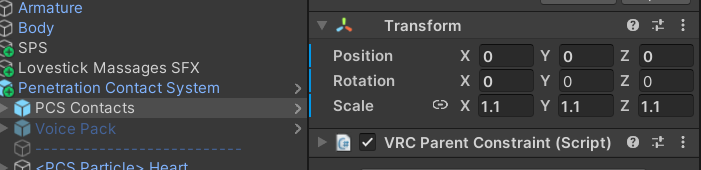
You can adjust the size of LMS Contacts to make LMS larger or smaller as needed. In some cases, LMS may appear too small on certain avatars due to an unusual Armature scale.